Tuesday, July 23, 2013

Glow in the Dark Jello

I have very good friends.

When I asked one of my friends in book club if she had a black light, not only was she at all surprised by the question from me, but she had a nice hand-held black light.

I was making glow in the dark jello in honor of the book we'd read for that month - it had a cover that glowed in the dark.

Now jello doesn't glow normally, but wait. This is a crazy fun activity to do but it does take some special ingredients.  Here's what you need:

Jello - pick two colors to see if one glows more. I found one color glowed more - who knew!
Tonic Water - check for quinine, you need it
A black light

I used melon and apricot flavors since I was taking this to my book club.

I mixed the jello according to directions by mixing it with the hot water first and then using the tonic water instead of the cold water.


There was a lot of foam on the jello even after letting the tonic water sit for a while.

And the jello glowed just as advertised.  But how did it taste?

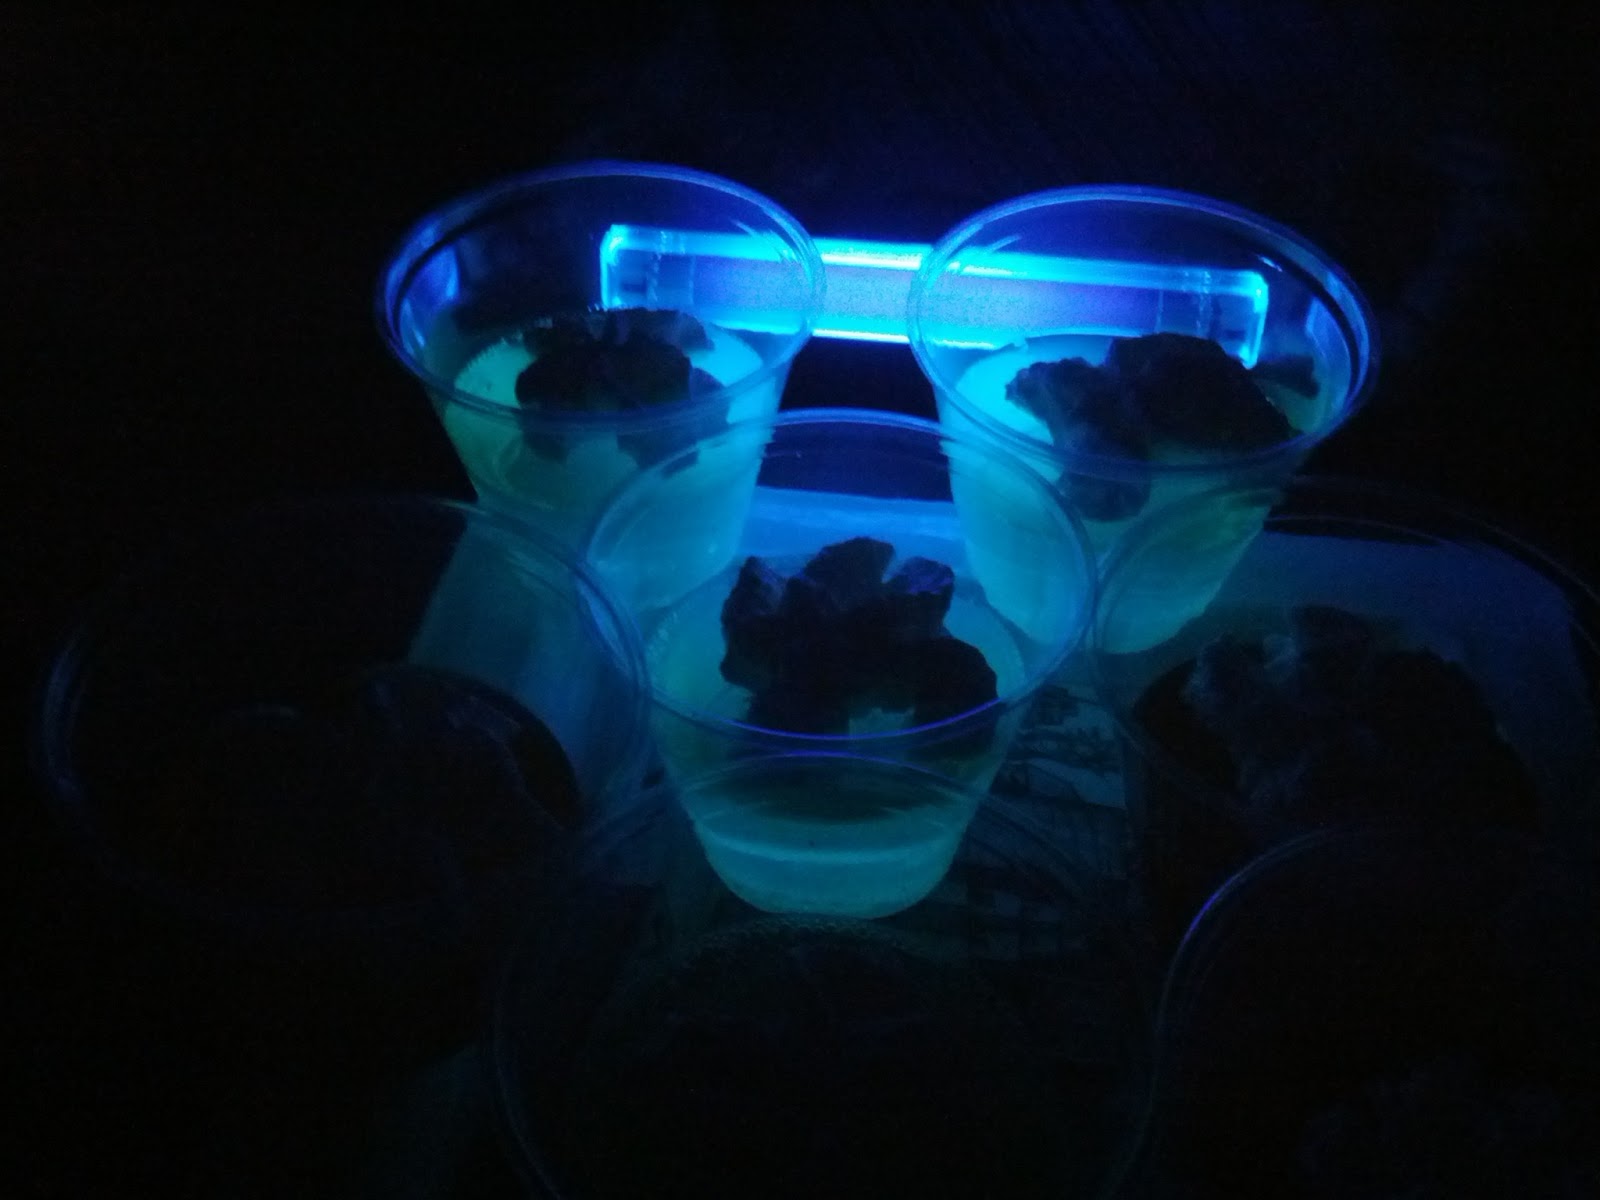
The overwhelming review was thumbs up. Most of the folks on Pintrest suggested whipped cream and found that was a key addition. The jello is slightly bitter from the quinine but that makes a very refreshing treat for a hot day. The whipped cream was a lovely way to smooth it out without making it too sweet.

And one color did glow more than the other. Care to guess which one glowed more?

Saturday, July 6, 2013

Sun Paper

It isn't often that I suggest something expensive or fancy to do science with preschoolers, but this is one of the exceptions: Sun Print Paper. This is photosensitive paper allows you to keep a shadow more permanently.

Making shadows on this paper is easy but you have to be prepared.

There different companies that carry this paper and other similar papers. They are a bit pricy to it is best to be very familiar with the directions before opening the paper. Once exposed, the paper cannot be used again. 

Here's what you need:
A sunny day
Sun paper
A handful of objects
A small piece of cardboard or clip board
If it is at all windy, a piece of clear plastic like for an overhead projector

Find a flat spot and pick your objects. Plan how you want to lay them out as you can't move them once you start. 

When you have everything, put your sun paper on the cardboard upside down. Flip it right side up and place your objects. Wait for 1-5 minutes. The paper will fade to a light blue when it is finished developing. 

Turn the paper over and take it inside to finish.  Rinse the paper in water for one minute.

 Let the paper dry flat.
The paper will darken a bit as it dries. To make it completely flat, you can put the dry paper in a book for  few days. 

This paper is a blast to play with but it can be pricy if you mess it up. An alternative is to try non-fade resistant construction paper. You have to hunt for it,but dollar stores are a good bet. Place the objects on the paper but you have to leave them in place for most of a sunny afternoon. Then you can keep the shadows by putting up on a wall that is out of the sun. 

Have fun and get messy!

Friday, July 5, 2013

Sunny summer science


Summer is in full swing with hot temperatures and no school. Don't let older kids forget about science in the long days of summer. Many schools have summer reading and summer math programs for students to keep summer loss to a minimum.

But what of science, I hear you say?

Science in the summer is often relegated to a visit to a science museum or a good science fiction beach read.

Fear not. I have some great ideas to bring some science to summer play that will keep school aged kiddos excited about science and keep your preschooler engaged at the same time. How cool is that?

First let's start with some ideas from last summer. They are a good place to begin. Over the next few days, I will post more ideas to engage everyone and even some ideas to take camping.

Go Science!